
Getting Started with Journey2Jannah for Institutes
Welcome to Journey2Jannah. This article will show you how to get started with the platform. Please see this video for an explanation too.
1. Navigate to https://my.journey2jannah.com/manage-classroom/
2. When you login, you will see your dashboard. To see your new notifications, click on the bell icon on the top.

3. This will show all your notifications, as a new institute you might not have any but as students and teachers engage with the platform, you will get more notifications. Then you can see the badges icon, this will show your achievements so far.

4. It will show you how many point you've given out. You can click the 'Achievements' tab.

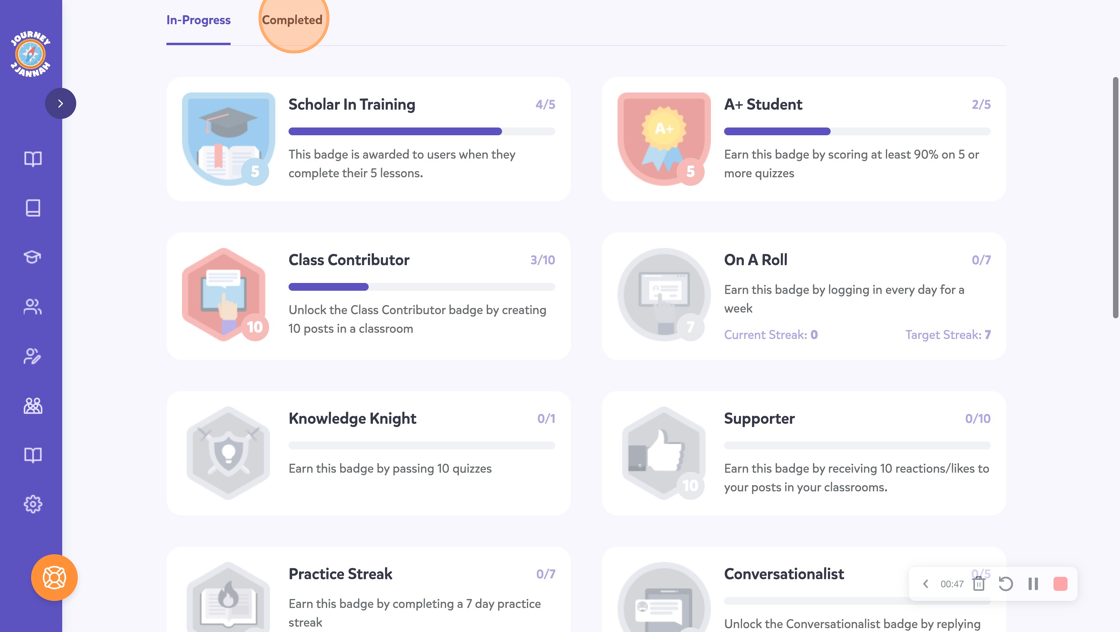
5. This will show your own achievements on your profile. The 'In-Progress' ones and the 'Completed' ones. You should encourage your students to do this too.
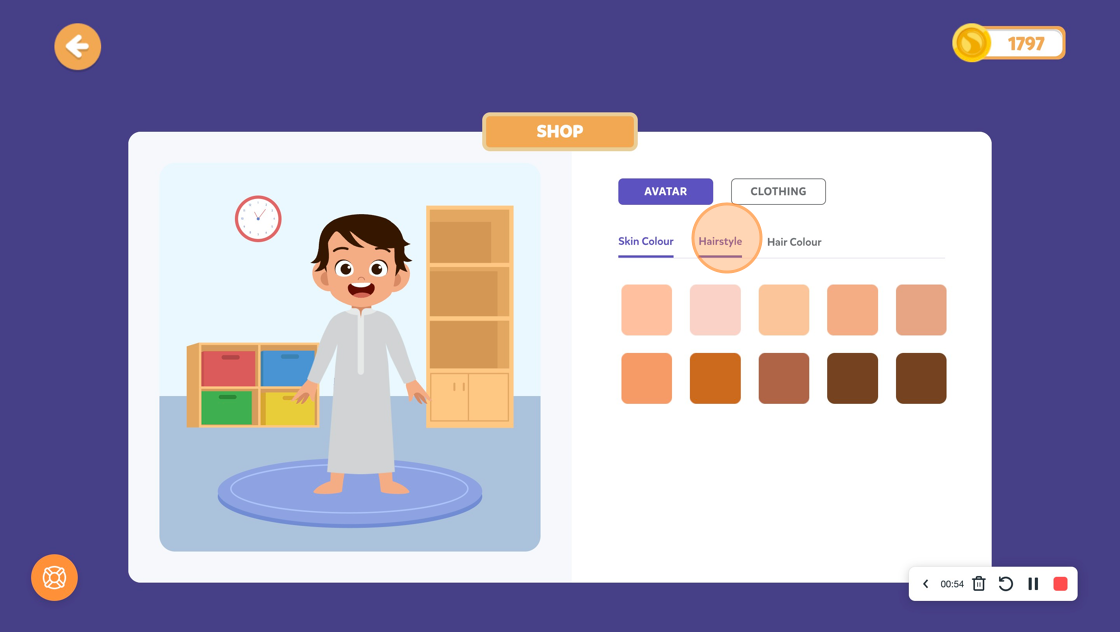
6. You can click on the 'Safar' coin on the top.

7. This will take you to the Avatar Store. You can edit your avatar with the different options there are. You can see this article for support.
8. When you go back to the dashboard, you can click on a classroom to see all the features. Click on the image. To create a classroom, see this article.

9. This first thing you will see is the 'Feed' where you can see comments made by those in the classroom. You can 'like' a comment.

10. You can also "Comment" on each post too.

11. Click "Post what's new" to send a new post on the 'Feed'.

12. You can make it as creative as you want it. You can include images, documents, videos while also tagging people, including emojis and changing the font.

13. You can also pin posts by clicking on the 3 dots on each post. See this article for more help.

14. Click "Students"

15. This will allow you to see the participants in this class and click on each profile to get more details.

16. It will show you the badges earned, points, practices, streaks, reward points and the history.

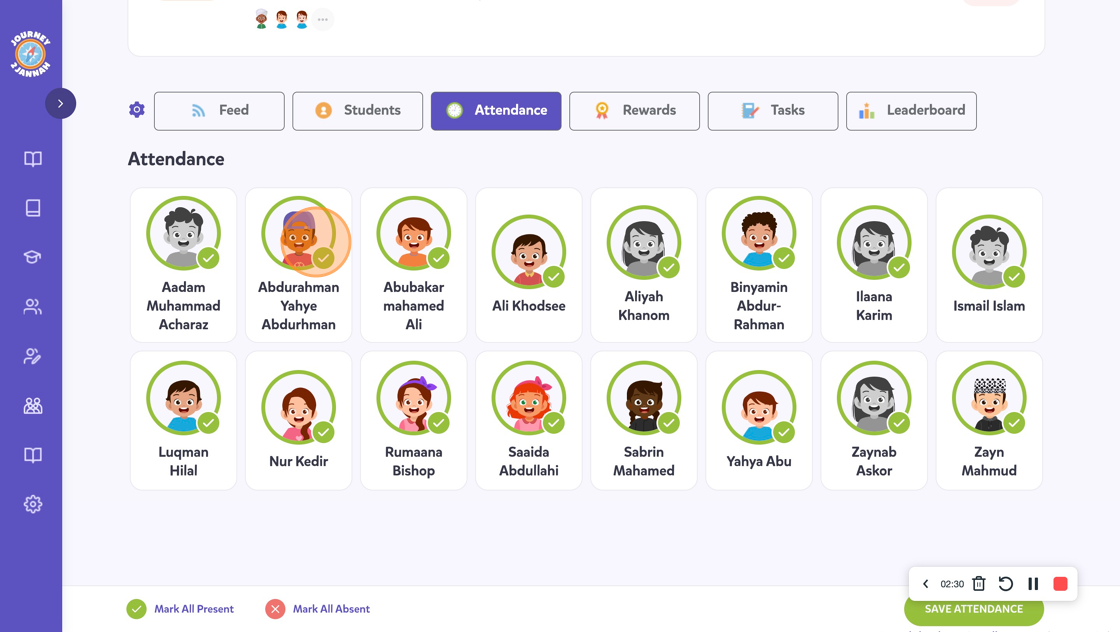
17. Click "Attendance"

18. This will allow you take attendance. See this article for support.
19. Click "Rewards"
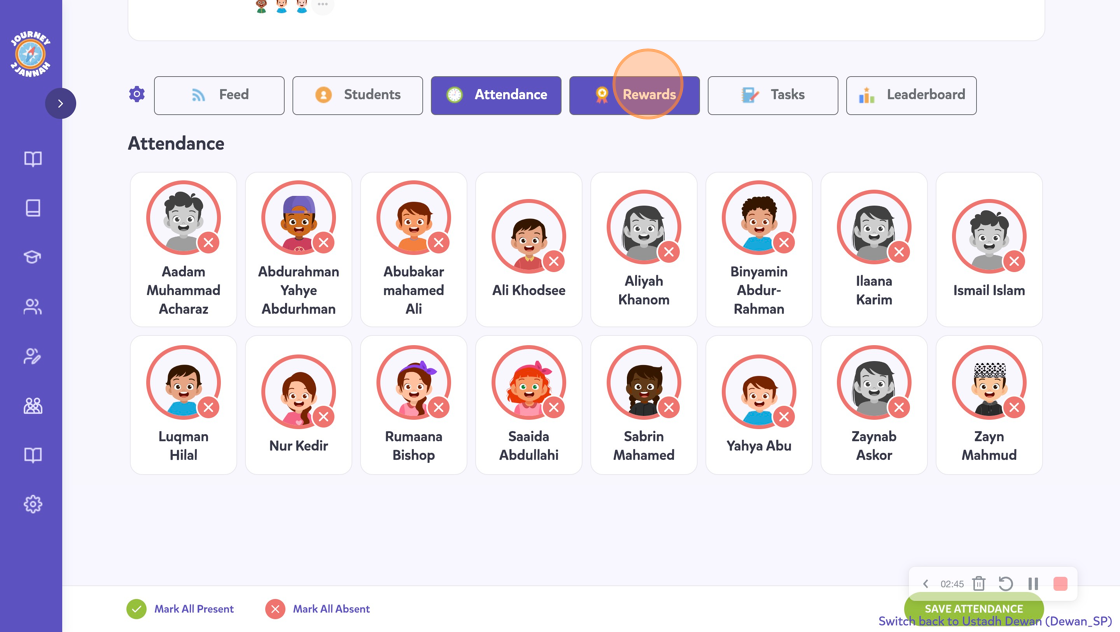
20. You can give rewards to your students. See this article for support.

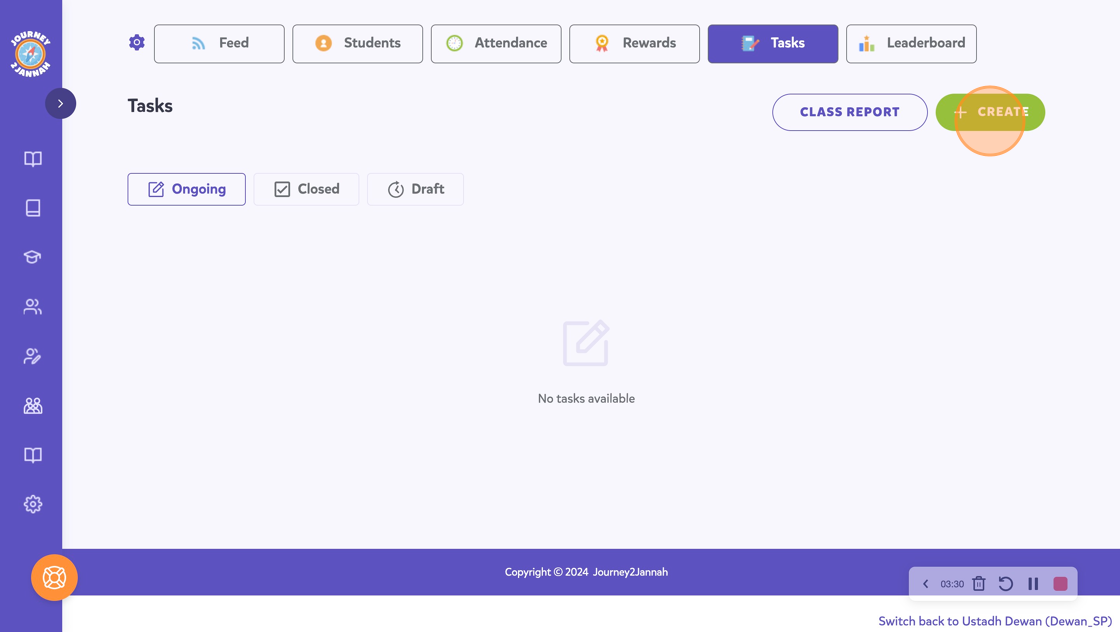
21. Click "Tasks"
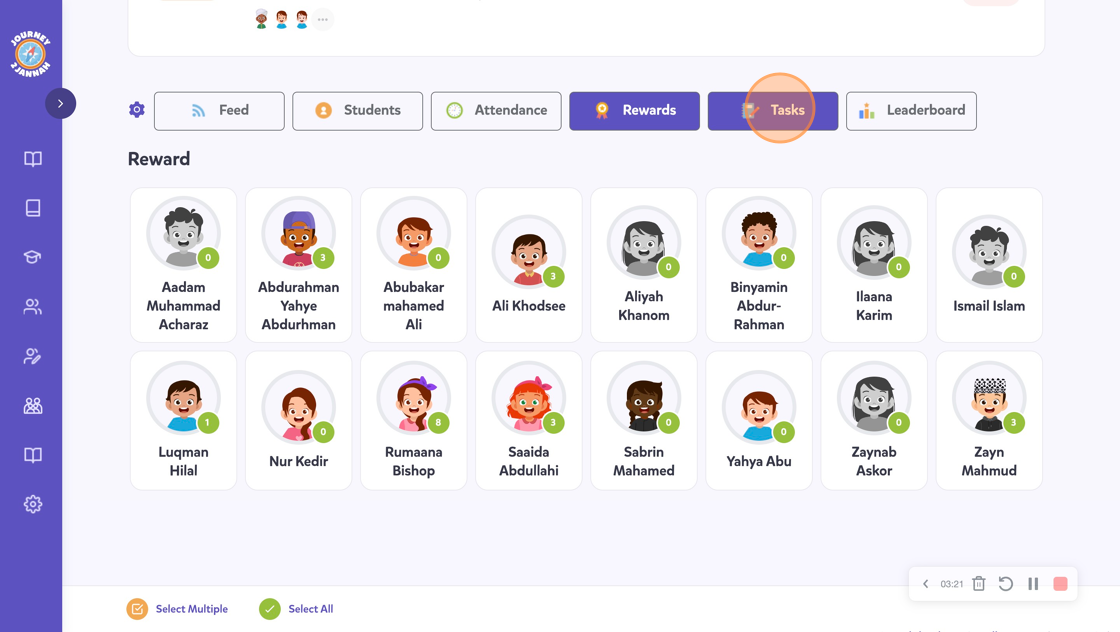
22. This will allow you to give tasks to students. You can see this article for support.
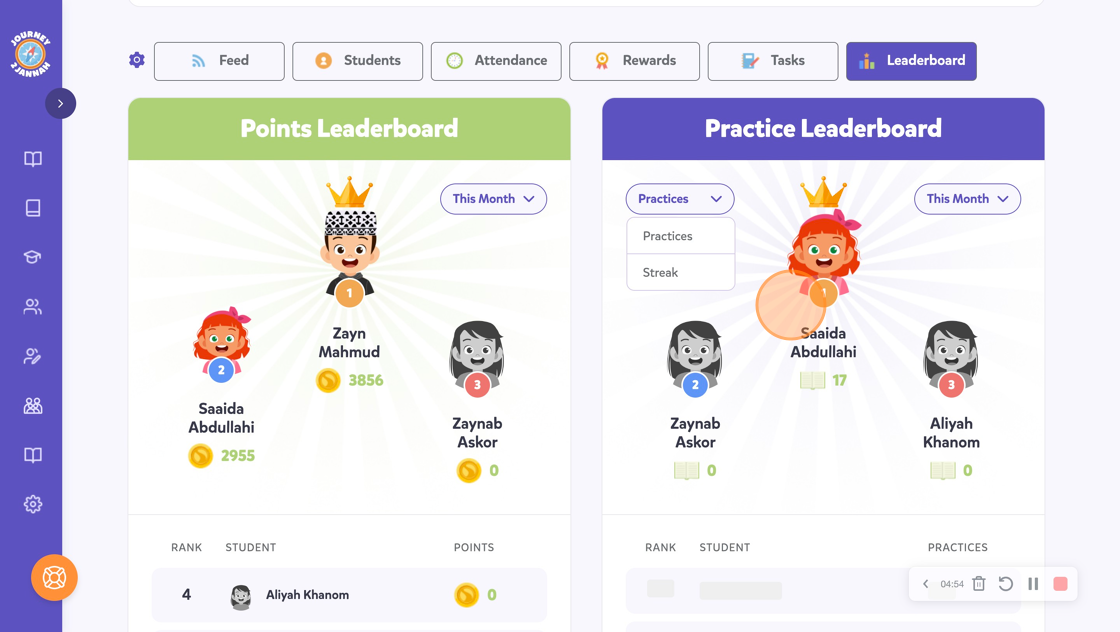
23. Click "Leaderboard"
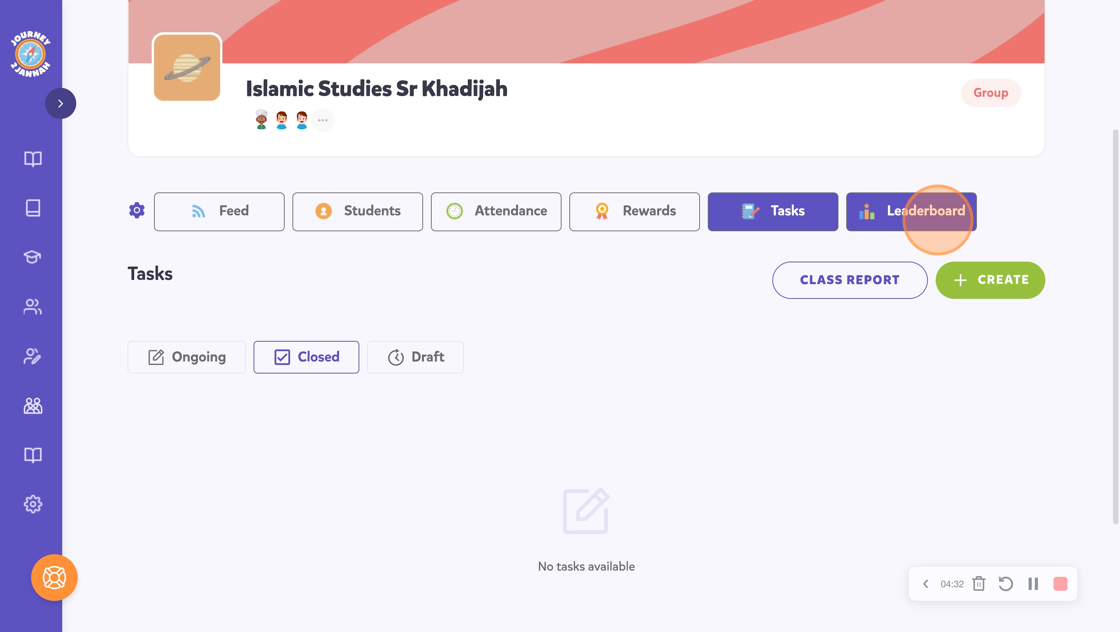
24. The leaderboard allows you to see which students are the most engaged and getting the coins from their learning. It also shows you the children who are logging their Quranic reading at home. You can identify your star students through this way. This is at your discretion.

25. Click "Practices" dropdown.

26. This will allow you to filter it to a 'Streak'.
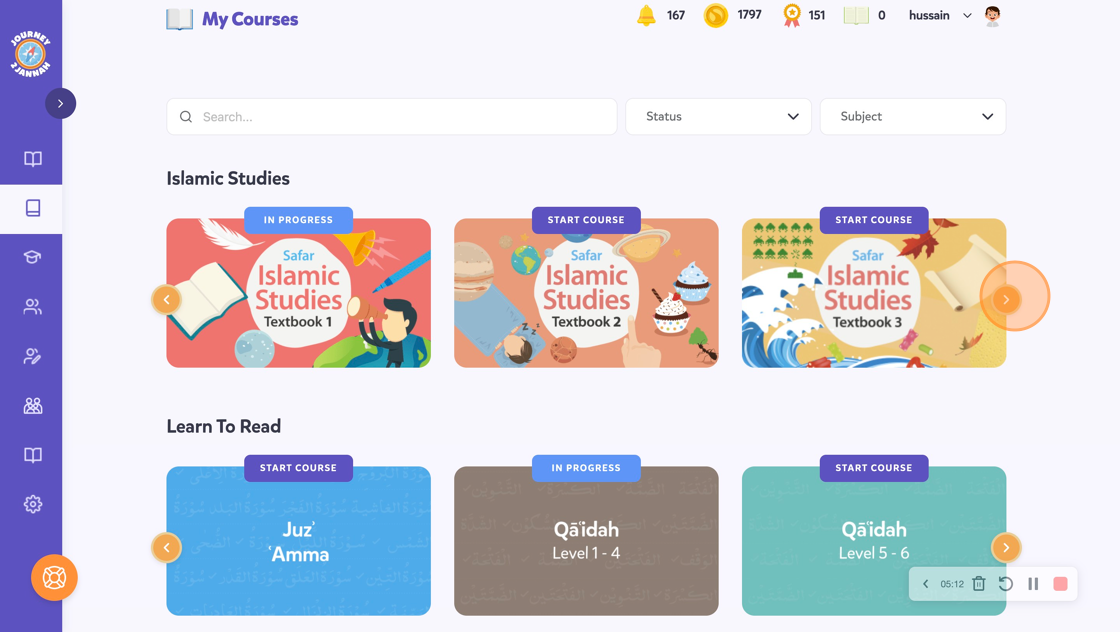
27. This is all the features in the classroom. You can see the content by clicking on the 'Course Library'.

28. You can see the learning. This is from Textbook 1 - 6. You can see this article on how the structure of the learning is. You can see this article on how to navigate through a lesson. You can see the article on how to access and use the Learn To Read books.
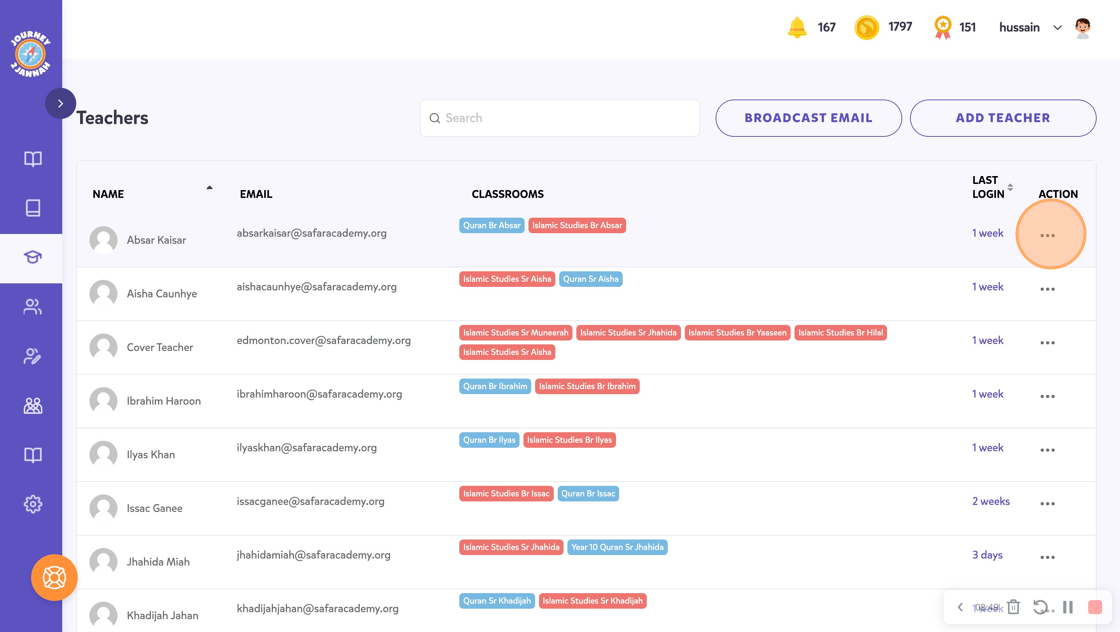
29. When you return back to your profile, you can click on 'Teachers' on the left hand panel.

30. You can see this article on how to add teachers manually. You can see this article on how to delete teachers.
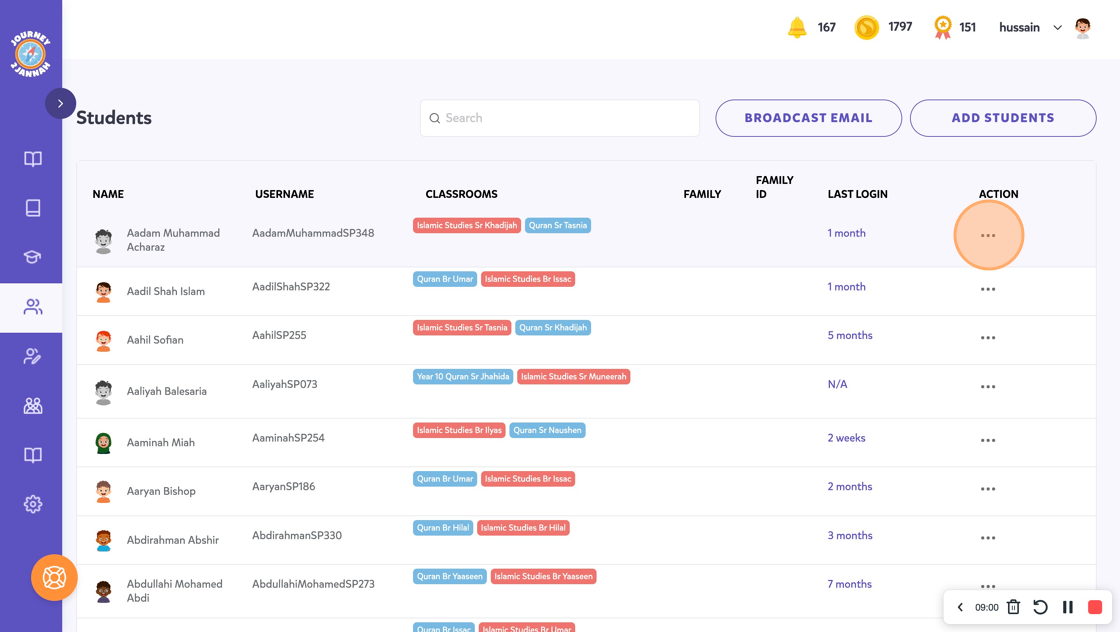
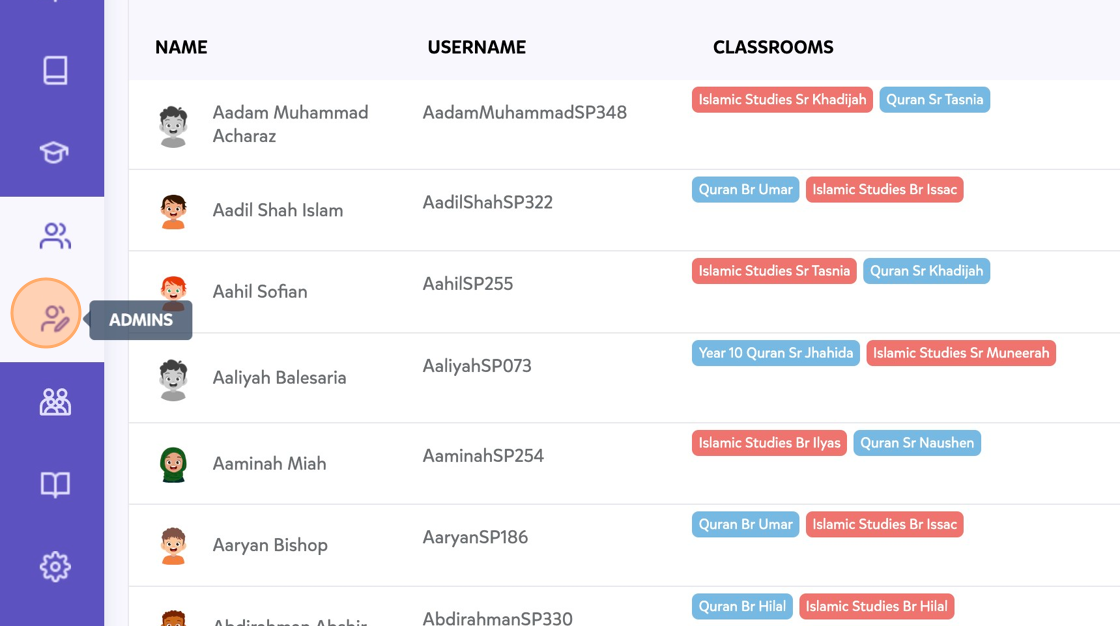
31. Click on the 'Students' option on the left hand side.
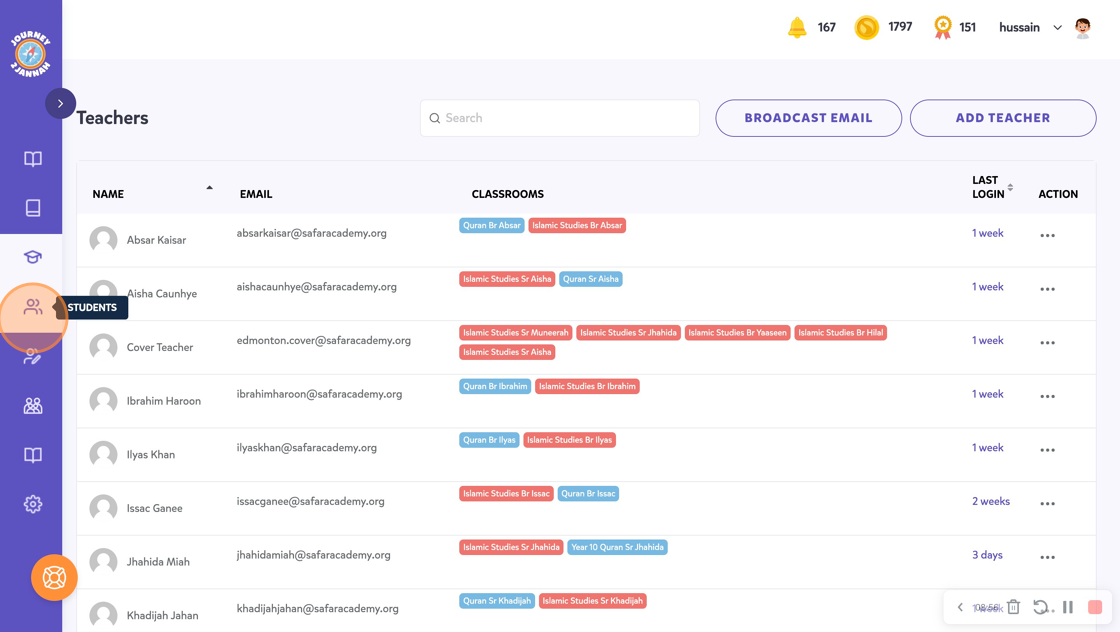
32. You can see this article on how to delete a student. You can see this article on how to change the password for your student.
33. Click on the 'Admins' side on the left.
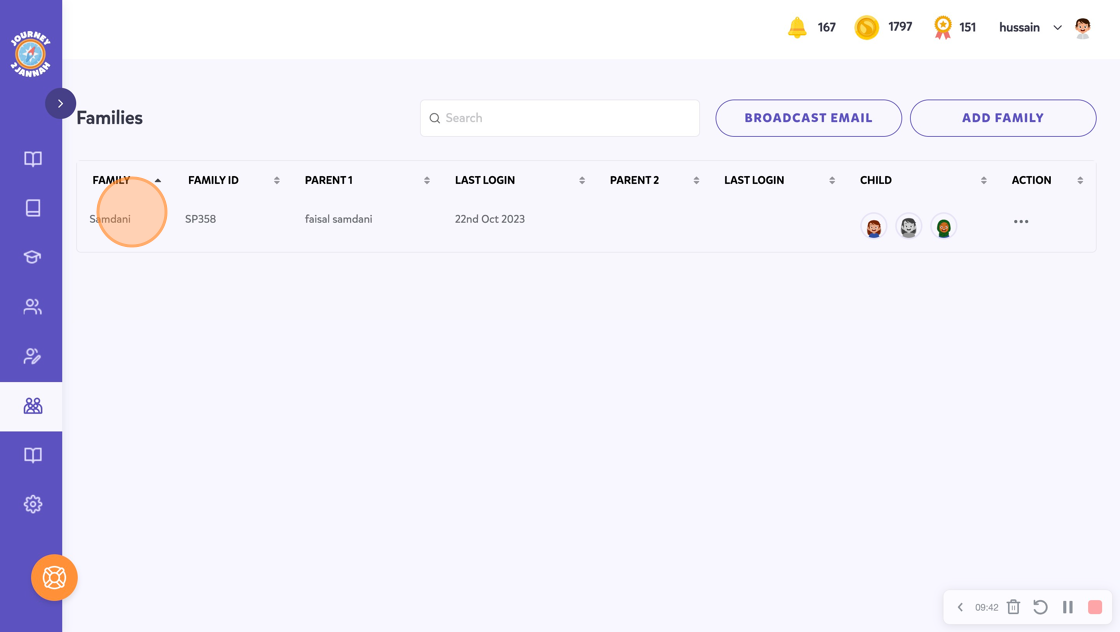
34. You can add Admins and change a teacher into an Admin through this way. You can also delete an admin by clicking on the 'bin' icon. Click on the 'Families' tool on the left side.
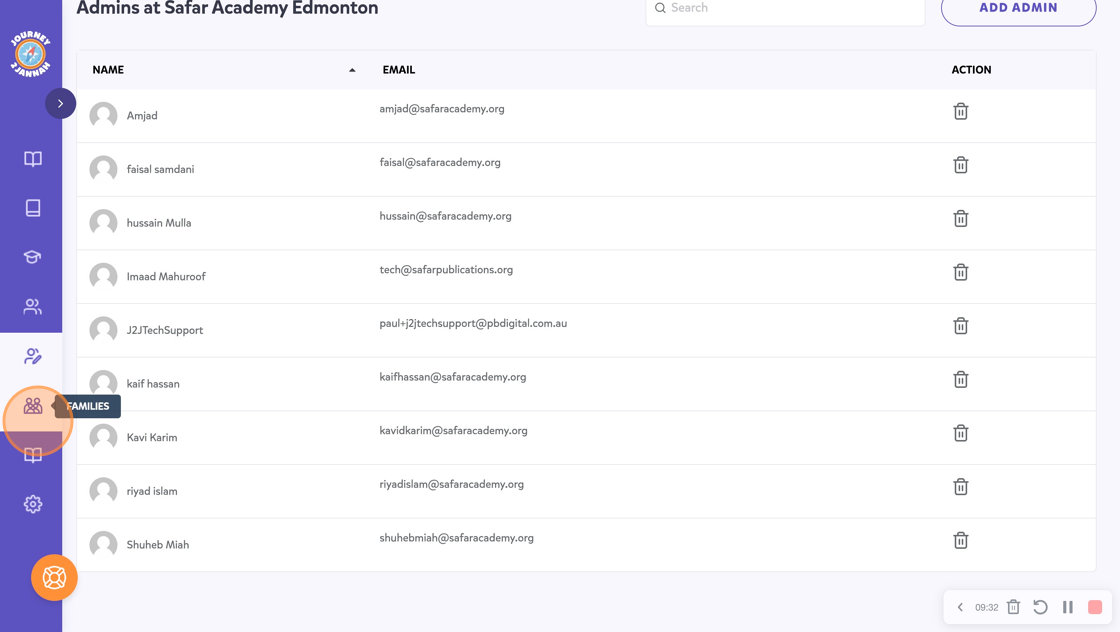
35. You can see this article on how to utilise the families feature.
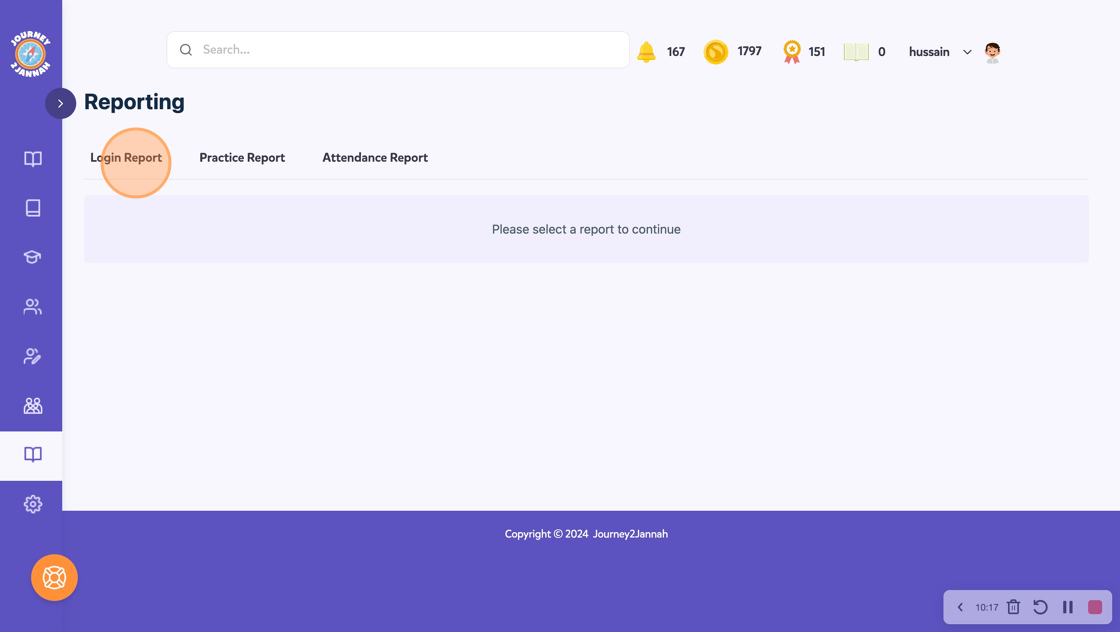
36. Click on the 'Reporting' on the left hand side.

37. You can see this article on how to utilise the 'Reports' feature.
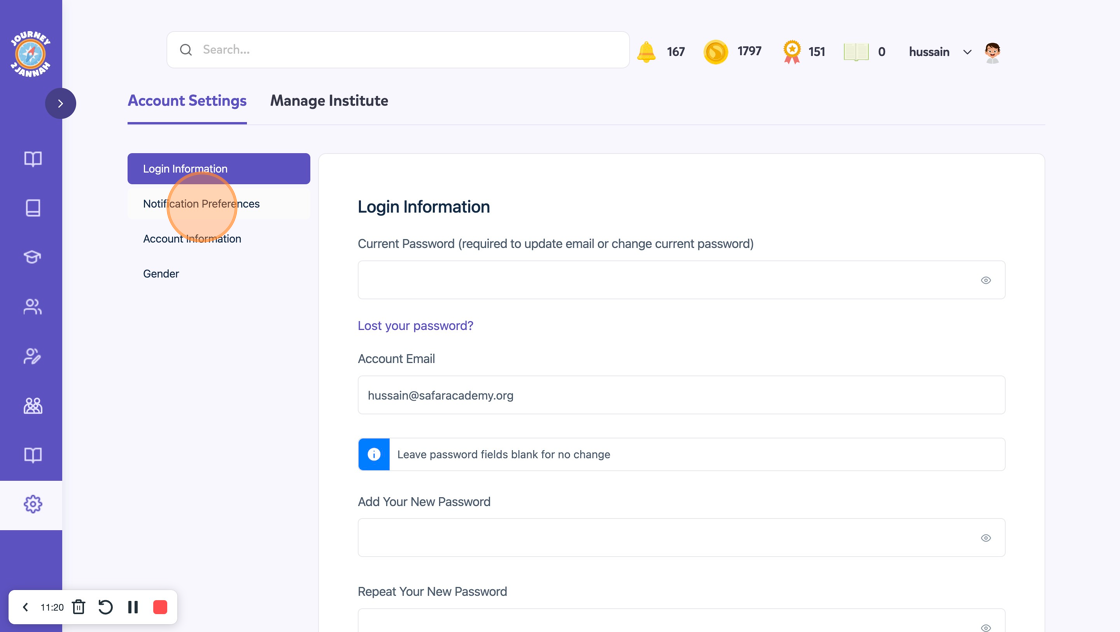
38. Click on the 'Settings' tool on the left hand side.

39. You can change your personal details on here. Click "Notification Preferences"
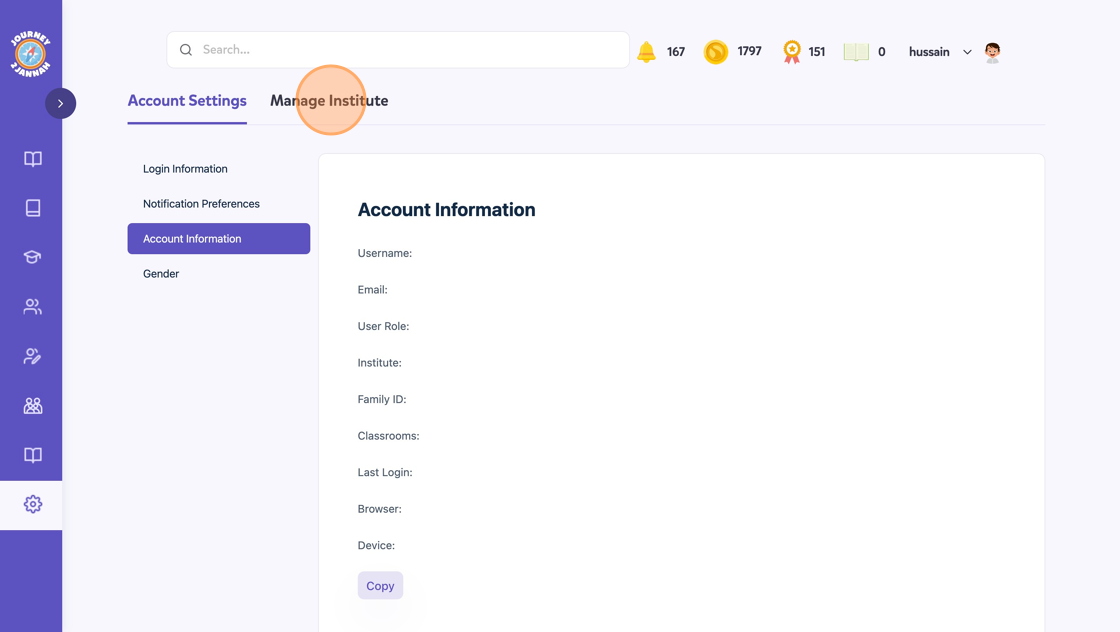
40. You can change your preferences through this way. Click on 'Account Information'

41. Click "Gender" to change your gender.

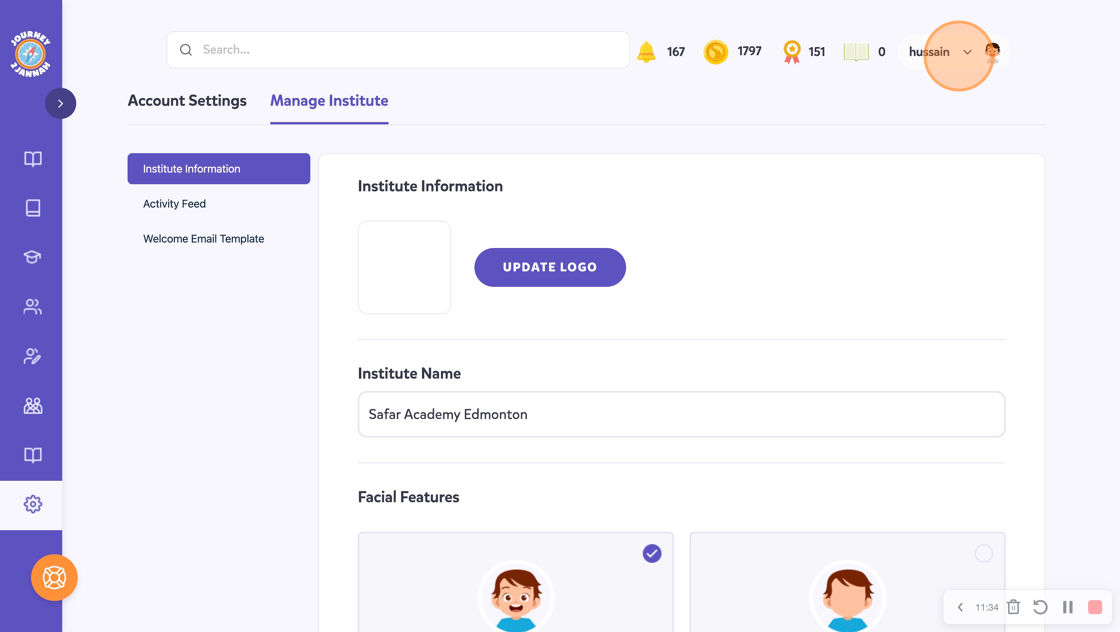
42. The Account Information will allow you get your details. Click "Manage Institute"
43. This will allow you to change details for your institute such as the logo, name and facial features option.
44. Click on your name on the top right hand corner. This will give you the option to 'Log Out'
